[postlink]http://iamdaowner.blogspot.com/2012/06/creating-retro-photo-effects-tutorial.html[/postlink]

STEP 1
Create a new Document with a size of 800×600 pixels and Place your image above the background image see the image below.
.png "Creating Retro Photo Effects Tutorial by Anthony Pillos")
.jpg "Creating Retro Photo Effects Tutorial by Anthony Pillos")
.png "Creating Retro Photo Effects Tutorial by Anthony Pillos")
.png "Creating Retro Photo Effects Tutorial by Anthony Pillos")
.png "Creating Retro Photo Effects Tutorial by Anthony Pillos")
.jpg "Creating Retro Photo Effects Tutorial by Anthony Pillos")
.png "Creating Retro Photo Effects Tutorial by Anthony Pillos")
.png "Creating Retro Photo Effects Tutorial by Anthony Pillos")
.png "Creating Retro Photo Effects Tutorial by Anthony Pillos")
.png "Creating Retro Photo Effects Tutorial by Anthony Pillos")
.png "Creating Retro Photo Effects Tutorial by Anthony Pillos")
.png "Creating Retro Photo Effects Tutorial by Anthony Pillos")
STEP 10.png "Creating Retro Photo Effects Tutorial by Anthony Pillos")
.png "Creating Retro Photo Effects Tutorial by Anthony Pillos")
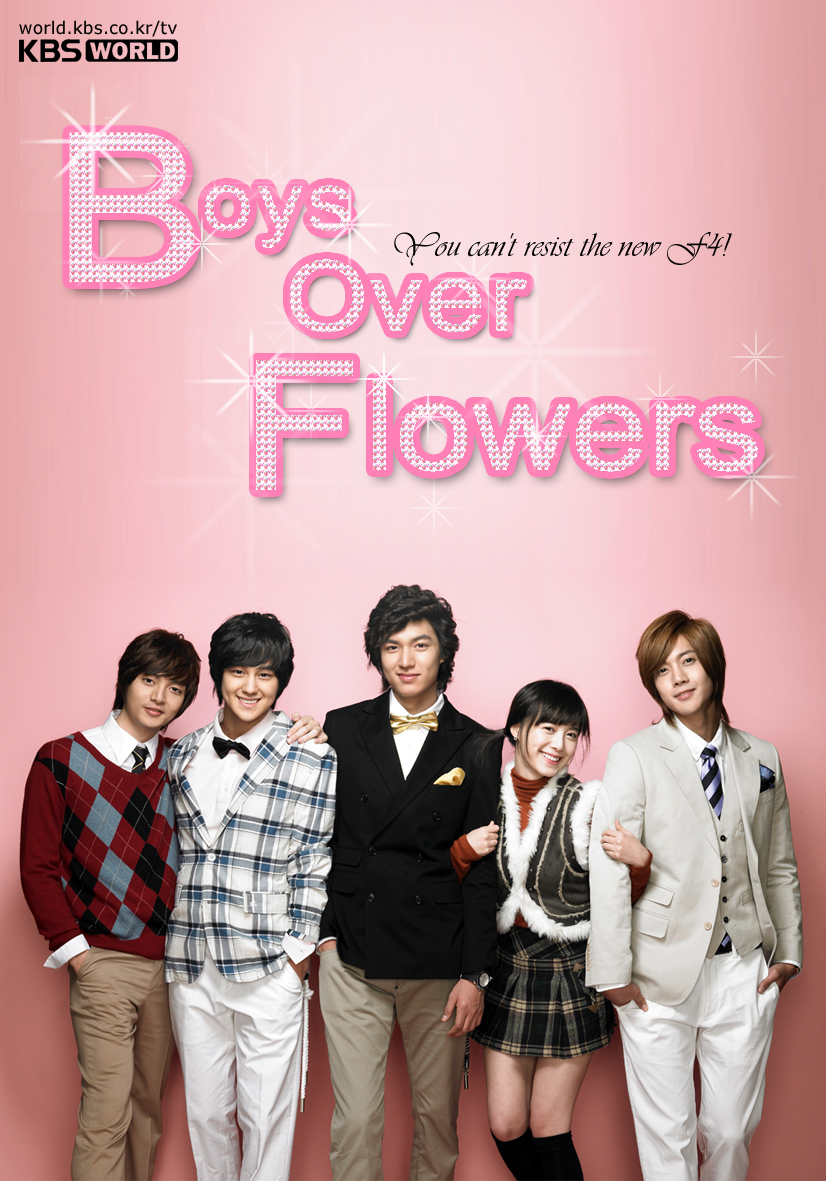
Today, I’m writing my second tutorial iniapdesign. I’m kinda busy in my work to write a tutorial but right now I will teach you on how to create a retro photo effects for your favorite Korean Drama – Boys over Flower. 
FINAL IMAGE – Creating Retro Photo Effects Tutorial by INTERNET ONLINE HELP
Creating Retro Photo Effects Tutorial by INTERNET ONLINE HELP
So Lets Start!
Preparations
You can use any photos that you want to edit or if you like the photo that I use you can visit the website from here Boys Over Flower Photo.
STEP 1
Create a new Document with a size of 800×600 pixels and Place your image above the background image see the image below.
Note: Always group your work using in a Folder to easily edit your work and looks professional . Shortcut key (CTRL+G)
Creating Retro Photo Effects Tutorial byINTERNET ONLINE HELP
STEP 2
Create a New Layer above your Layer 1 and name it retro color. Then Select your rectangular marquee tool and draw a rectangle shape in the retrocolor layer. See the
image below.
image below.
Creating Retro Photo Effects Tutorial by INTERNET ONLINE HELP
Creating Retro Photo Effects Tutorial by INTERNET ONLINE HELP
STEP 3
And now select the foreground use this color code #90ff00 and fill it up using paint bucket tool. While the Retrocolor is selected go to Select and choose Inverse or (Ctrl + Shift + i) in your keyboard. And fill it up again using your paint bucket tool using this color #ff401a. You can now Deselect the retrocolor layer by pressing Ctrl+D. And now Drag the retrocolor layer below the layer1.
Creating Retro Photo Effects Tutorial by INTERNET ONLINE HELP
Creating Retro Photo Effects Tutorial by INTERNET ONLINE HELP
STEP 4
In this part, we are going to change now the color of our image to make a Retro Effects. Now See the Source Below select in the dropdown the the .psd that you are working. In my case my source is iAPDesign psd file. And in the Layer select the retrocolor. And start to edit The Image Options Above. I leave the Luminance to its default,if your going to edit the luminance it will just set to dark or light color. My Color Intensity is 91 and the fade is 71 then select Ok.
Note: You can select your own settings that fits to your image.
In this Part you can now hide your retro color layer by clicking the eye in the left side of the layers panel.
Note: You can select your own settings that fits to your image.
In this Part you can now hide your retro color layer by clicking the eye in the left side of the layers panel.
Creating Retro Photo Effects Tutorial by INTERNET ONLINE HELP
Creating Retro Photo Effects Tutorial by INTERNET ONLINE HELP
STEP 5
Create now a new layer place it below of the group folder name photo. And Name the new Layer with BG and fill it using paint bucket tool using this color #feb3a1. After that select your brush I use basic brush tool and use the number 60 Brush and set the size to 442px and the Hardness to 0%. And now click on the top of the BG layer to make a nice lightning at the top.
Creating Retro Photo Effects Tutorial by INTERNET ONLINE HELP
Creating Retro Photo Effects Tutorial by INTERNET ONLINE HELP
STEP 6
Apply Gaussian Blur to the brush that you apply and set the settings below like in the image. Your Layer Panel it should be like this now.
Creating Retro Photo Effects Tutorial by INTERNET ONLINE HELP
Creating Retro Photo Effects Tutorial by INTERNET ONLINE HELP
STEP 7
We are almost done.:) I hope you can catch up in my tutorial.
Anyway, Select your Elliptical Marquee Tool set the Feather To 25px and select the Layer 1 in the group name photo. And create a circle around of your image like in this below.
Creating Retro Photo Effects Tutorial by INTERNET ONLINE HELP
STEP 8
While the layer 1 is selected with your elliptical marquee tool press Ctrl + x. You will see that it will cut the image inside of the elliptical marquee tool and delete the outside part. Now create new layer and press Ctrl + v. it will paste the selected part of the image.
Creating Retro Photo Effects Tutorial by INTERNET ONLINE HELP
STEP 10
We are going to add some highlights in our image. To do that, create a new layer and name it spotlight,place it above of all the layer and set the layer to Screen.
Creating Retro Photo Effects Tutorial by INTERNET ONLINE HELP
STEP 11
Grab your Brush Tool now and add some bright colors to your image I use different colors like violet,green,red,orange,yellow something like that. You can experiment in this part of our tutorial. See the image below.
Grab your Brush Tool now and add some bright colors to your image I use different colors like violet,green,red,orange,yellow something like that. You can experiment in this part of our tutorial. See the image below.
Creating Retro Photo Effects Tutorial by INTERNET ONLINE HELP
And you can add some text and flower in the background to make it cool. )
That’s all guys. I hope you like my tutorial
That’s all guys. I hope you like my tutorial
FINAL IMAGE – Creating Retro Photo Effects Tutorial byINTERNET ONLINE HELP
Creating Retro Photo Effects Tutorial by INTERNET ONLINE HELP


0 comments:
Post a Comment